

You know that moment when you’re scrolling through Instagram and see someone sipping a gorgeous, creamy hojicha latte that looks like it came straight from a fancy café? Yeah, I’ve been there too. Just like other viral drink recipes taking over social media, hojicha lattes are having their moment. The good news? You don’t need to drop $6 every time you crave that nutty, caramel-like goodness. I’m about to show you exactly how to make the perfect hojicha latte at home – and trust me, once you nail this recipe, you’ll never want to go back to store-bought.
What Makes Hojicha So Special?
Before we jump into the recipe, let’s talk about why hojicha hits different than your regular green tea. Hojicha is roasted green tea, which gives it that distinctive toasty, almost coffee-like flavor without the caffeine crash. The roasting process transforms those grassy notes into something warm and comforting – perfect for cozy mornings or that 3 PM slump.
I discovered hojicha during a trip to Japan, and honestly? It changed my entire tea game. The locals were sipping it like we drink coffee here, and I quickly understood why. Unlike other Japanese tea varieties, hojicha has this rich, nutty complexity that makes regular green tea taste bland in comparison.
Essential Ingredients You’ll Need
Here’s what you need to create hojicha latte magic at home:
For the Hojicha Base:
- 1-2 teaspoons loose hojicha tea (or 2-3 tea bags)
- 1/2 cup hot water (not boiling – more on this later)
For the Latte:
- 1 cup milk of choice (whole milk creates the creamiest texture)
- 1-2 tablespoons sugar or sweetener
- Optional: 1/4 teaspoon vanilla extract
Want to level up your game? Quality hojicha makes all the difference. I’ve tried cheap grocery store versions and premium Japanese brands – the difference is night and day. Look for hojicha that’s actually roasted in Japan, not just labeled as such.
The Perfect Brewing Method
This is where most people mess up, so pay attention. Water temperature is crucial for hojicha – too hot and you’ll extract bitter compounds that’ll ruin your latte.
Step 1: Heat Your Water Right
Heat water to about 175°F (80°C). Don’t have a thermometer? No problem. Bring water to a boil, then let it cool for 2-3 minutes. You want it hot enough to extract flavor but not so hot that it burns the delicate roasted notes.
Use about 1-2 teaspoons of loose hojicha for every 1/2 cup of water – this gives you that perfect concentration without overdoing it.
Step 2: Steep Like a Pro
Pour the hot water over your hojicha and let it steep for 1-3 minutes. Premium hojicha can be ready in as little as 30 seconds, but 1-3 minutes is the sweet spot for most teas. Any longer and you’re risking bitterness. I learned this the hard way after making several undrinkable batches :/
The tea should turn a beautiful amber color – that’s your cue that it’s ready.
Step 3: Strain and Set Aside
Strain out the tea leaves (or remove the bags) and set your hojicha concentrate aside. This concentrated tea is your flavor foundation.

Creating the Perfect Milk Foam
Ever wonder why café lattes taste so much better than homemade versions? It’s all about that creamy, velvety milk texture. Here’s how to achieve café-quality foam at home:
The French Press Method
This is my go-to technique because it’s foolproof:
- Heat 1 cup of milk to about 150°F (warm but not scalding)
- Pour the warm milk into a French press
- Pump the plunger up and down rapidly for 30-60 seconds
- Watch the magic happen as your milk doubles in volume
If you’re serious about milk foam quality, investing in a quality milk frother can really elevate your home latte game.
The Mason Jar Hack
Don’t have a French press? Use a mason jar instead:
- Fill a jar halfway with cold milk
- Screw on the lid and shake vigorously for 60 seconds
- Remove the lid and microwave for 30 seconds
- Boom – instant foam that rivals any coffee shop
Assembling Your Masterpiece
Now comes the fun part – putting it all together. This is where you can get creative and make it your own.
The Classic Approach
- Pour your hojicha concentrate into a large mug
- Add sweetener while the tea is still warm (it dissolves better)
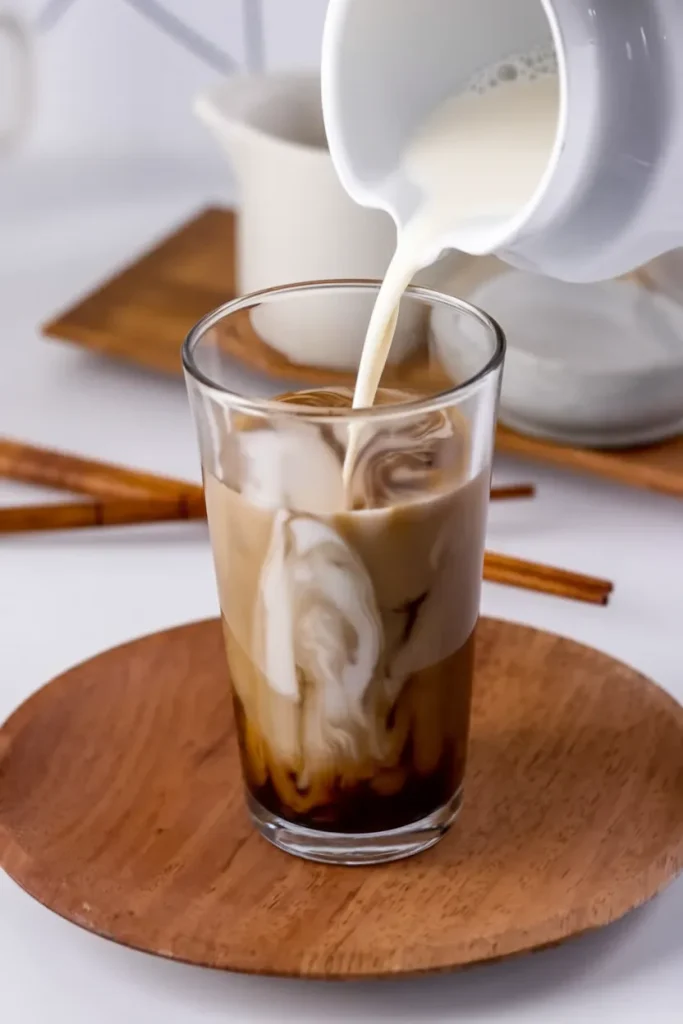
- Slowly pour in the foamed milk, holding back the foam with a spoon
- Top with the remaining foam
- Dust with a pinch of hojicha powder if you’re feeling fancy
Pro Tips for Instagram-Worthy Presentation
Want to impress your friends (or your Instagram followers)? Try these tricks:
- Create latte art by pouring the milk in a steady stream from a height
- Dust the foam with hojicha powder using a fine mesh strainer
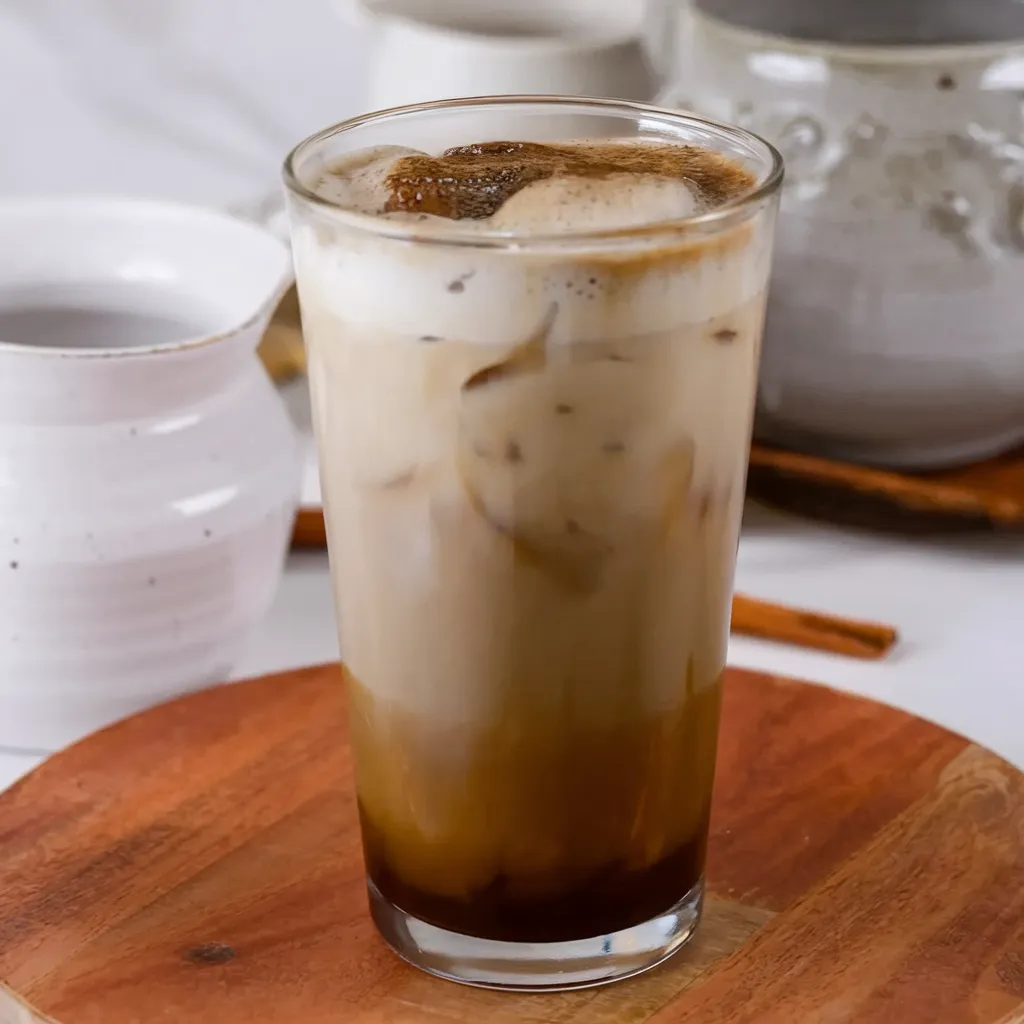
- Add a cinnamon stick for extra warmth and visual appeal
Troubleshooting Common Mistakes
I’ve made every possible mistake with hojicha lattes, so let me save you some frustration:
Problem: Bitter or Harsh Taste
Solution: Your water was too hot or you steeped too long. Hojicha is forgiving, but it has limits. Stick to 175°F water and 1-3 minute steeping times.
Problem: Weak, Watery Flavor
Solution: Use more tea or less water in your concentrate. I typically use 1-2 teaspoons of loose tea for every 1/2 cup of water. Don’t be shy with the tea – you want that roasted flavor to shine through the milk.
Problem: Flat, Lifeless Milk
Solution: Your milk wasn’t warm enough or you didn’t foam it long enough. The milk should be steamy but not boiling, and you should see it roughly double in volume when properly foamed.
Customization Ideas That Actually Work
Here’s where hojicha lattes get exciting. Unlike some drinks that only taste good one way, hojicha plays well with different flavors:
Sweet Variations
- Vanilla hojicha latte: Add 1/4 teaspoon vanilla extract
- Caramel hojicha latte: Swirl in 1 tablespoon caramel sauce
- Brown sugar hojicha latte: Replace regular sugar with brown sugar for extra depth
For dessert lovers, you can even create a hojicha-flavored cream cheese filling for pastries by incorporating some hojicha powder – it’s absolutely divine!
Spiced Options
- Cinnamon hojicha latte: Add a pinch of ground cinnamon
- Ginger hojicha latte: Fresh grated ginger adds a warming kick
- Cardamom hojicha latte: One crushed cardamom pod during steeping
IMO, the brown sugar version is absolutely divine – it complements the roasted notes perfectly. And if you’re curious about choosing the right milk for lattes, oat milk and whole milk work best for achieving that creamy texture.
Storage and Make-Ahead Tips
Want to streamline your morning routine? Hojicha concentrate keeps well in the fridge for up to 3 days. Make a big batch on Sunday and you’ve got quick lattes all week.
Here’s my meal prep strategy:
- Brew a large batch of hojicha concentrate
- Store in an airtight container in the fridge
- Each morning, warm 1/2 cup concentrate and add foamed milk
- Total time: Under 3 minutes for a perfect latte
You can even freeze the concentrate in ice cube trays for iced hojicha lattes – just add the cubes to cold milk and blend.
Why This Beats Store-Bought Every Time
Let’s be real for a second. Café hojicha lattes cost $5-7 each and half the time they’re either too sweet, too weak, or made with subpar tea. When you make it at home, you control every variable:
- Quality of tea: Use the good stuff
- Sweetness level: Adjust to your taste
- Milk choice: Oat milk, almond milk, whatever you prefer
- Temperature: Always perfect because you made it fresh
Plus, there’s something satisfying about mastering a technique. FYI, my friends now request my hojicha lattes over coffee shop versions – that’s when you know you’ve nailed it.
The Bottom Line
Making the perfect hojicha latte at home isn’t rocket science, but it does require attention to detail. Water temperature, steeping time, and milk technique – get these three things right and you’re golden.
The best part? Once you’ve mastered the basic recipe, you can experiment with different flavors and techniques. Maybe you’ll discover your own signature twist that makes your hojicha latte uniquely yours.
So next time you’re craving that nutty, creamy goodness, skip the café line and head to your kitchen instead. Your wallet (and your taste buds) will thank you 🙂